The unit comes with all the parts you need except the case and solder. you will need to 3D print the SDL file, assemble the parts, and solder the components. The Firmware is already loaded so you do not need to load any firmware.
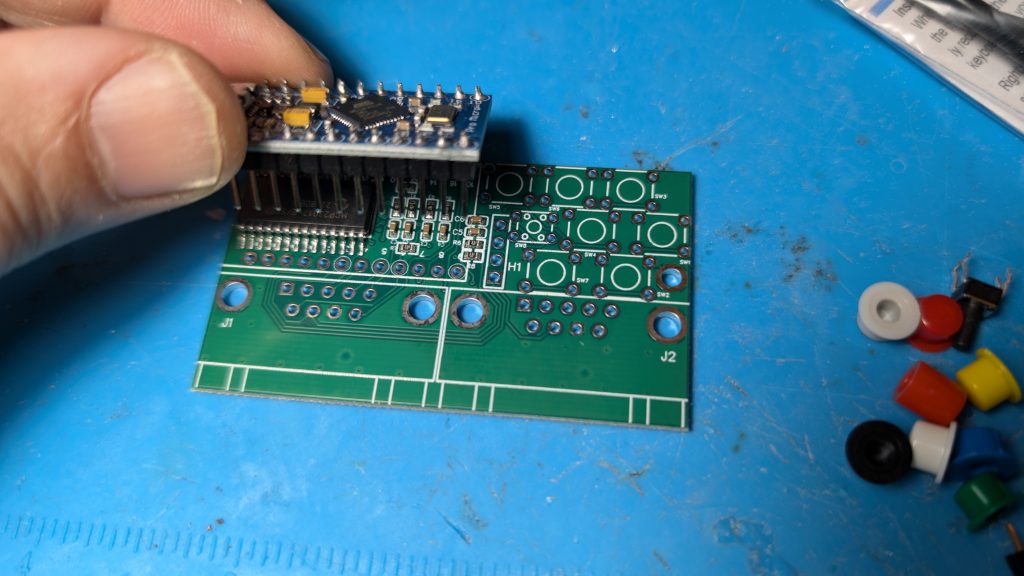
Step 1
Insert the Pro Micro controller daughter board into the main board and solder all the pins.
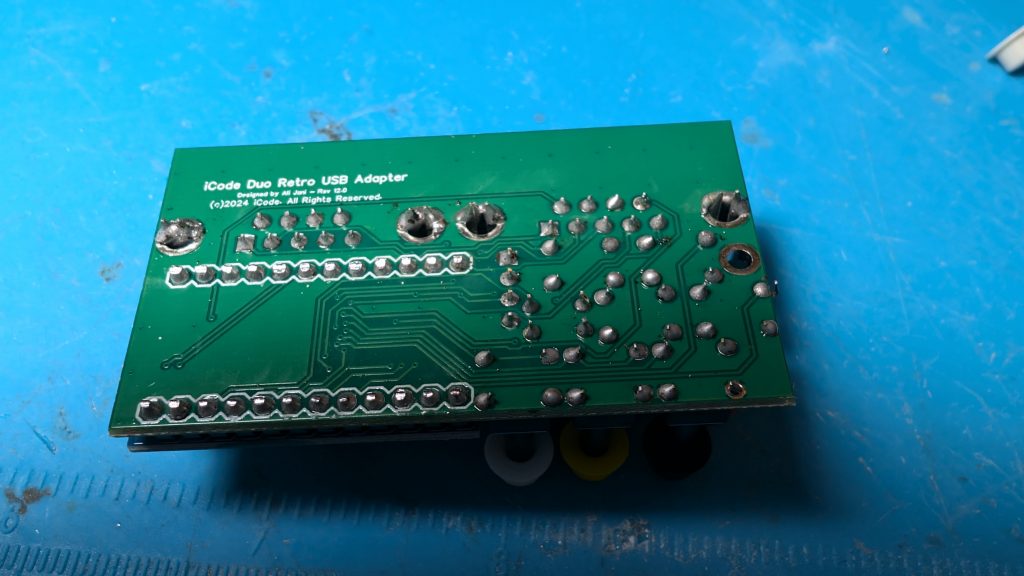
Step 2
After you solder the pins, cut the pins so they don’t stick out. Add the rest of components and solder them all.
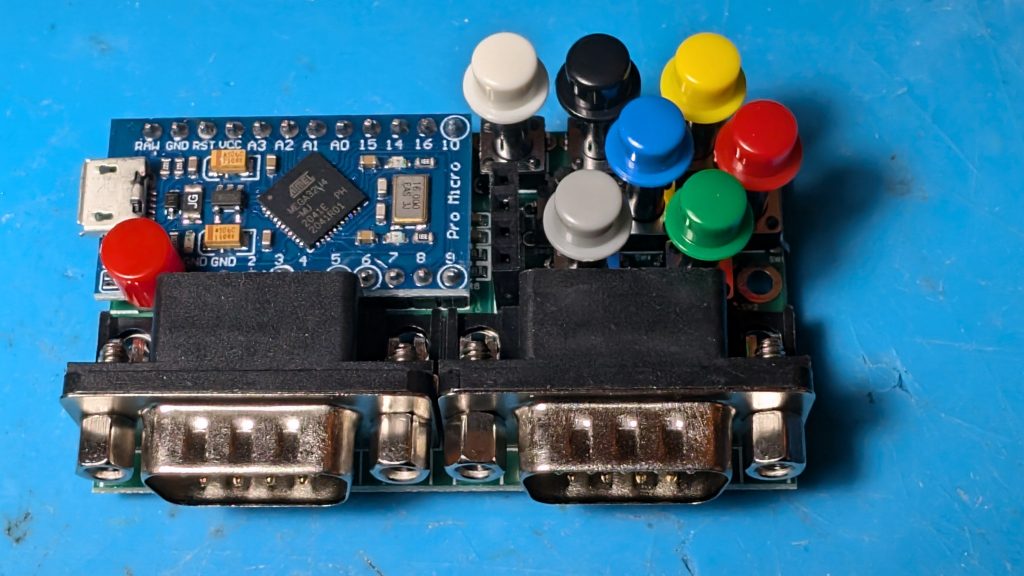
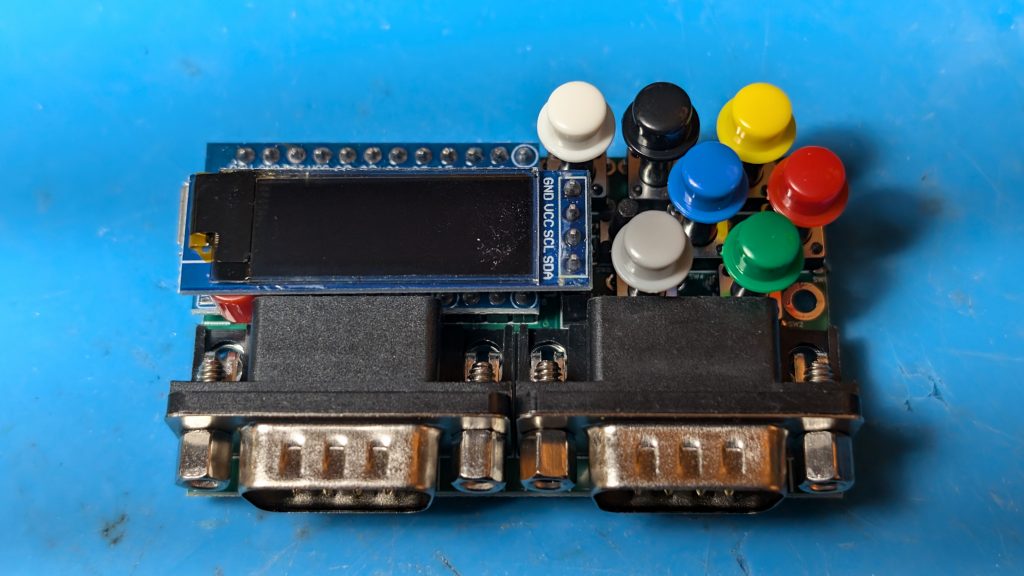
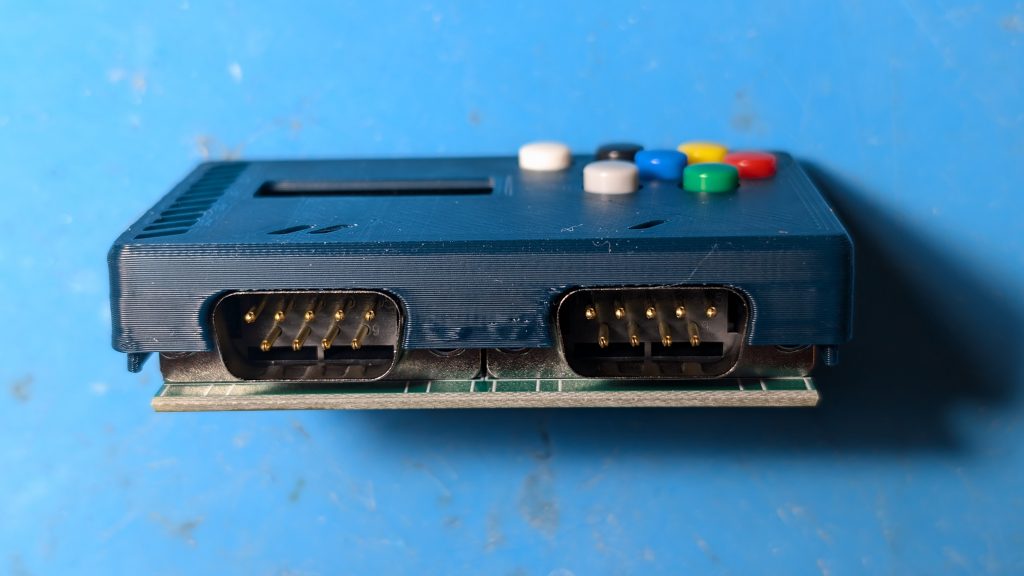
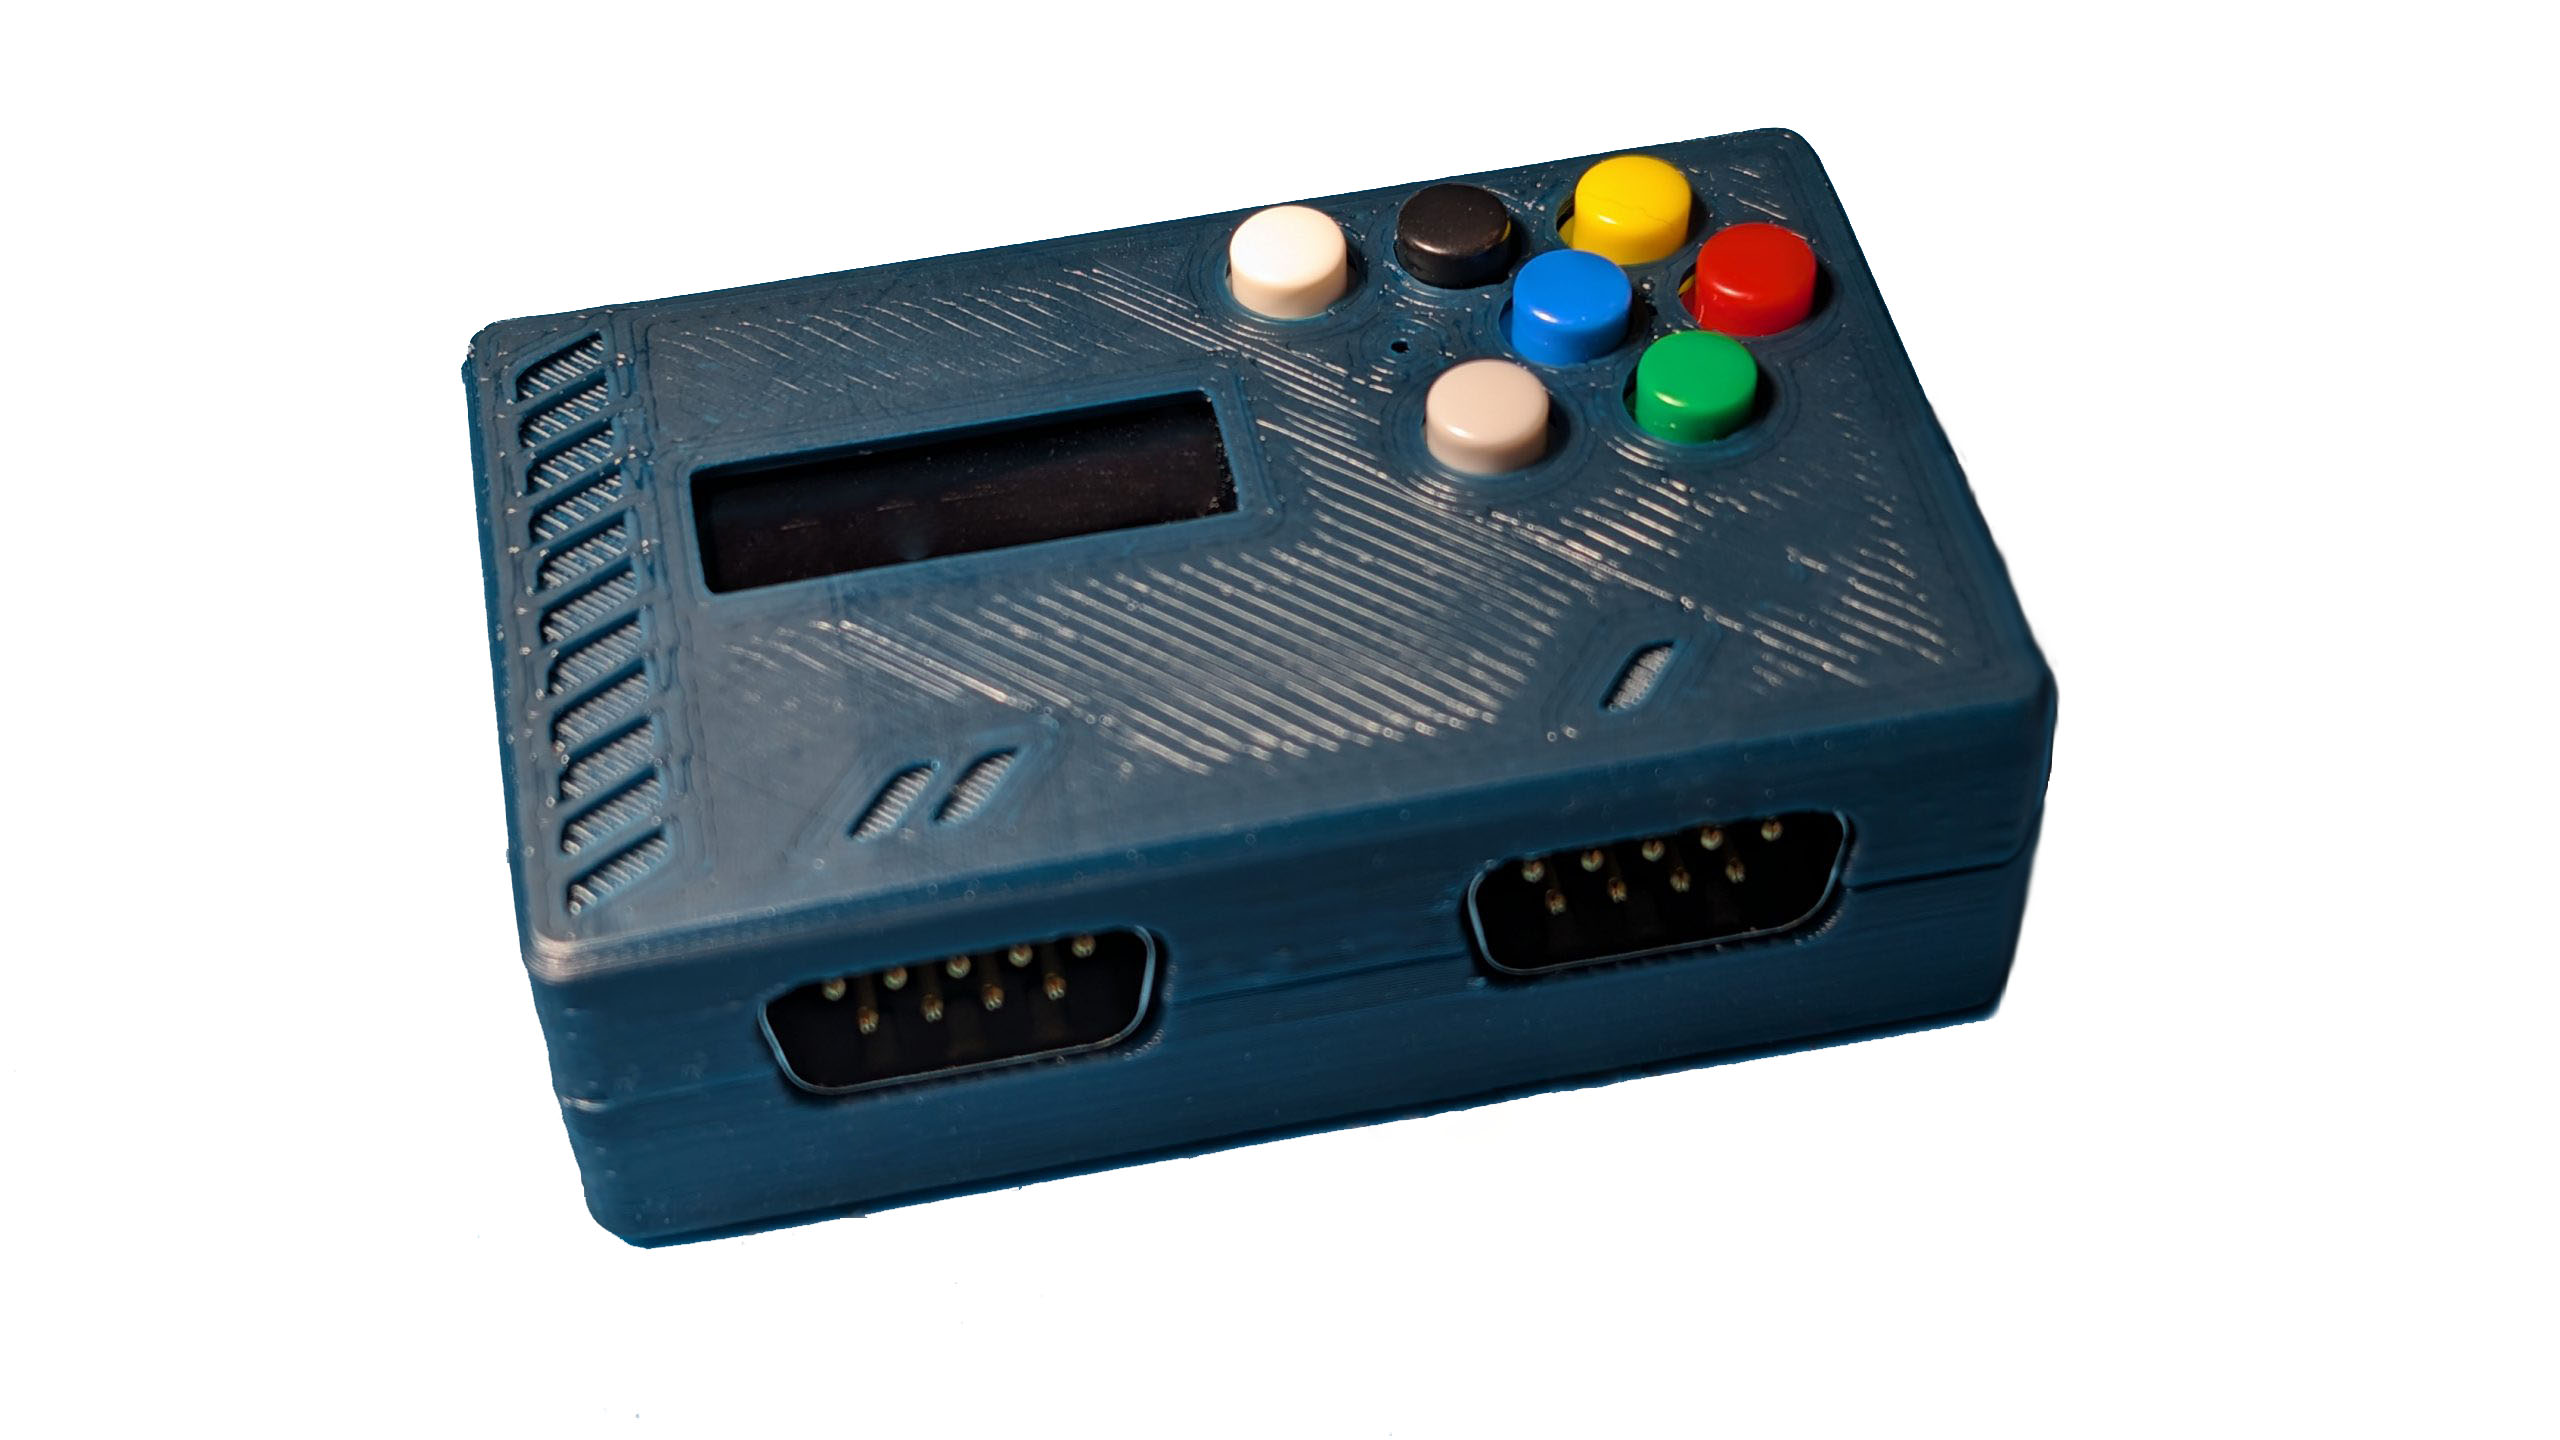
Step 3
Place the colors caps on the switches as shown. Note the Red cap on the daughter pro micro is a stand for the screen.